Time Tracking Setup Instructions
Download the PDF below to get started or scroll down for the details.
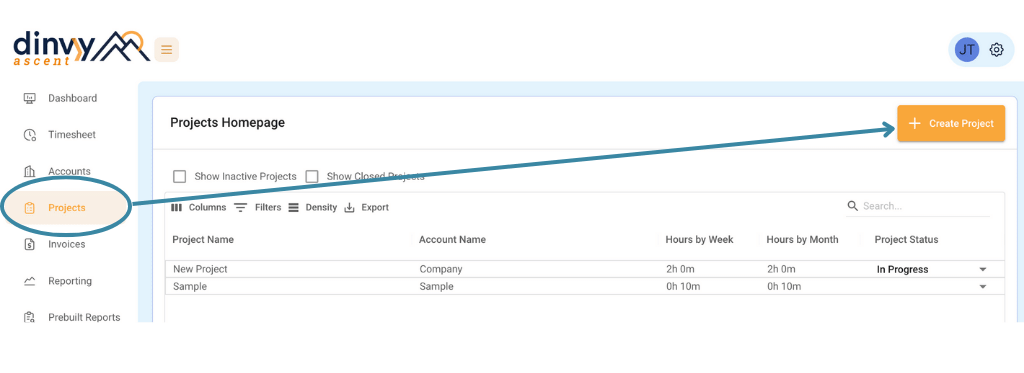
1) create your first project
- navigate to > projects > click “+ Create Project“
- add an account by clicking the “+ Create Account” button and entering the Company Name

- add required project details:
- Project Name – this is what you’ll see on all dashboards and reports
- Description – this is for internal use
- Project ID – this is an open text box that you can use as you see fit – for PO#’s, to track Projects numerically, etc.
- Project Budget – this is the estimated client cost for the project – we use it to track budget vs spent, profit and margin on the Project Dashboard
- Estimated Hours – this the estimated amount of hours this project should take – we track your estimated hours against actual to help you stay on top of your time
- Contract Terms – here you can decide if this will be a Time and Materials or Fixed Fee project. If you are not using invoicing, we suggest that you use Fixed Bid to track.
- Start & End Date –
Note: You are required to enter project budget, estimated hours, and contract terms in order for the program to function properly. However, because you’re not utilizing Dinvy’s invoicing feature, we recommend that you always select Fixed Bid as your Contract Terms to get the most accurate project metrics.
2) edit or add tasks*
*You can skip this step and use the prebuilt tasks if you’d like
- navigate to admin > tasks
- to edit a prebuilt task click on the task line and update the name and description
- to add a task click “+Create Task” and add the task name and description
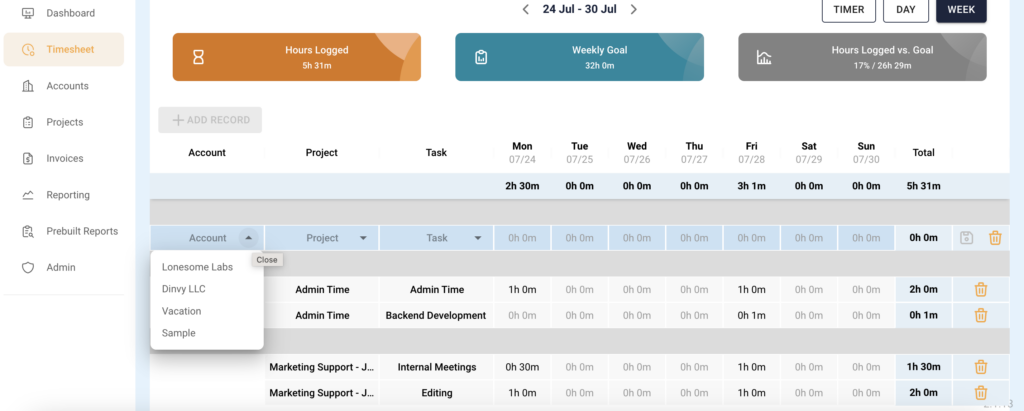
3) track time to projects
- navigate to > timesheets
- select Timer, Day, or Week
Day/Week Timesheets:
- click “+Add Record“
- select an Account, Project and Task
- enter time & click save
Timers:
- click “Add Timer”
- start a Timer
- prior to submitting select an Account/Project and a Task
- multiple timers can be added
- start and pause timers as needed
- click “Submit Time Entries” to clear the page and add timers to your timesheet
- remember! you can always manually edit your time and date
optional – add internal and external notes for reporting
4) add users
- navigate to > admin > users
- click “+Create User”
- add user details
- select their role
- Contractor/Time Entry – time entry access
- General/Manager – team member and project access
- Admin/Super Users – full access w/ invoices
- click create and an email will be sent for them to verify their account.
optional – add daily and weekly billable goals to keep yourself and your team on track!
Note: You are required to enter cost rate for each user. If you don’t use cost rate enter in $1 or an estimate to display profit and margin.
Additional Support
Reach out to our support team via email: help@dinvy.com
Or head to our Help Center